In the fashion industry, pattern cutting is the creation of a basic 2D design on paper that is the basis for designing a 3D garment. The pattern format is based on dimensions and measurements of the human body.
In this article, we guide you through cutting methods and how to make a professional looking garment at home.
Flat pattern cutting, draping and computerized cutting
The three basic cutting methods are flat pattern cutting, draping and computerized cutting.
-
Flat pattern cutting uses a 2D pattern on paper with individual blocks for separate pieces such as sleeves, collar or bodice.
-
Draping or 3D pattern cutting, begins with twisting, turning, folding and draping fabric onto a model or a dressmaker’s stand before transferring the pattern to paper. The benefit of this approach is that the designer can see how the finished garment will drape.
-
Patterns can also be created using Computer-Aided Design (CAD) which generates a pattern from measurements based on a chosen cutting layout.
Designers often combine the two cutting methods when creating garments.
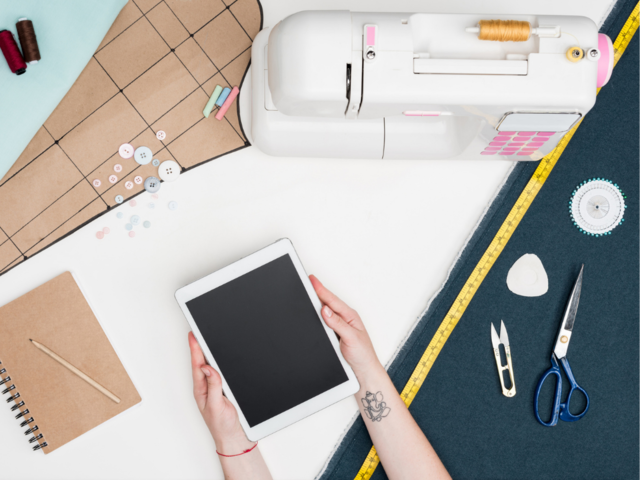
Image: Deposiphotos.
Advanced cutting methods
1. Subtraction pattern cutting
Subtraction pattern cutting is an innovative technique developed by fashion designer Julian Roberts with interesting results. This freestyle method, or hollow construction, is the opposite of traditional pattern cutting in that the pattern does not represent the shape of the garment, instead, it represents the negative space within the garment.
By using the basic shape of a piece of material, slices and holes are cut into it and then material is fed through the spaces created by cutting. The silhouette can be changed by adding pieces of fabric.
2. Zero-waste pattern cutting
This relatively new form of pattern cutting is used in sustainable fashion practices. The aim is that every inch of fabric is used in order to minimise waste. When designing patterned garments, square patterns are preferred as they also limit waste.
3. Japanese pattern cutting
Japanese pattern cutting, also referred to as the transformational reconstruction technique, transforms 2D shapes into sculptural 3D forms using elements of origami.

Image: iStock.
Making a professional-looking garment
Avoiding a homemade look in your designs is not as difficult as you think. You don’t need a state-of-the-art sewing machine to achieve a professional finish, just follow these basic tips and you'll achieve the look you were aiming for.
1. Choose the best quality fabric you can afford and make sure it’s fit for purpose
If you choose cheap fabric, you cannot expect a professional result. Know your fabrics and how they drape.
2. Take accurate measurements
The success of a garment starts with the right material, accurate measurements and careful cutting. This will result in the perfect fit.
When cutting, pay close attention to the grain of the fabric. The pattern pieces should align with the grain of the fabric, otherwise, you will end up with a garment that folds and gathers awkwardly.
3. Seam finishes
Be mindful of your seam finishes. They should be clean enough to wear the garment inside out. Learn how and when to produce french seams, flat fell seams and rolled hems. And cut all threads!
4. Press, press, press
When sewing, an iron is as important as a sewing machine. Do not skip this step! All seams and hems should be ironed as you are sewing.
5. Cut seam allowances
When turning collars and cuffs and when working with thicker fabrics, always cut the seam allowance close to your sewing line. This will reduce bulk and help achieve the tailored look. If you don’t follow this step, your collars will not behave and the seam allowance will be visible on the side of the garment.
6. Pay attention to curves
Depending on the direction of the curve, you will need to cut additional material away once you've sewn the curve so the fabric can lie flat. This applies to sewing a neck facing for example. Should you want to turn it in, you will need to cut some extra material away in order for the facing to lie flat inside the garment.
7. Pay attention to your hems
Getting a straight hem on a skirt or a dress can be tricky but if you want your garment to look good, it's important to get it right. It's best to have someone wear the garment and stand on a chair. This way you can pin the garment and observe how it will hang on the body as opposed to flat on a table.
Don’t skimp on the hem width! Narrow hems are a sure sign that a garment was homemade.
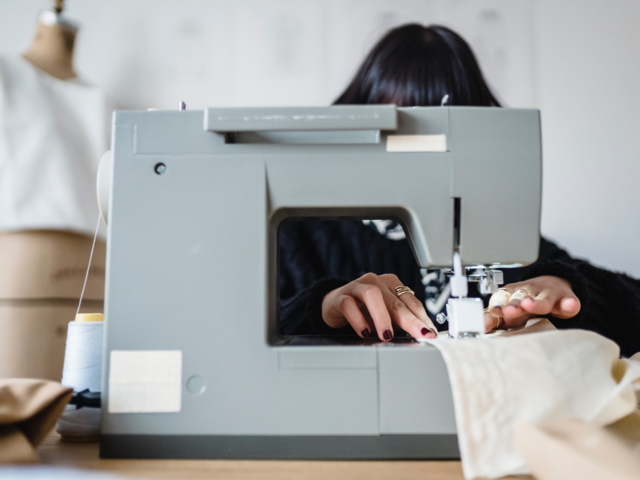
Image: Pexels.
Keep reading about fashion design trends, ideas and tips.
If you are looking to learn the basics or take your fashion skills to the next level, have a look at our fashion design courses.